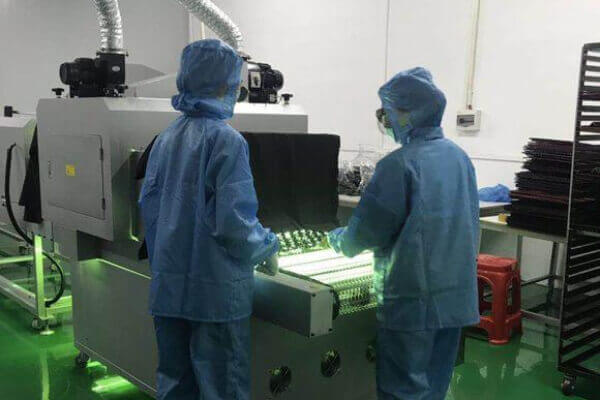
What surface treatment methods are available for CNC machining? You can improve the surface roughness, appearance and wear resistance of metal parts by finishing and surface polishing. Understand the most common CNC machining finishes and how to choose the best one for your application.
CNC machining is a subtractive manufacturing process that can produce parts with tight tolerances (down to ± 0.025 millimetres) and fine detail using a variety of metals and plastics. However, due to the subtractive nature of CNC machining, unlike 3D printing and rapid prototyping, parts often have obvious tool marks when they come off mills and lathes.
This is the function of surface finishing. It is possible to enhance the surface quality, appearance, optical properties and wear resistance of CNC machined parts.Proper surface finishing can improve both functionality and aesthetics, and often both at the same time.
This paper discusses the most common surface finishes for metal CNC parts, to assist you in selecting the most suitable finish for you.
All CNC machined parts leave marks left by the cutting tools during the machining process. The measure of surface quality is the average surface roughness (Ra). Ra measures the average deviation between the machined profile and the ideal surface.
The standard machining surface roughness is 3.2 microns (125 inches). Precision machining can reduce the surface roughness to 1.6, 0.8 or 0.4 microns (63, 32 or 16 microns). This will increase the cost of production of the parts by requiring additional operations and more stringent quality control.
The machined parts can be smoothed or polished to improve surface quality and appearance by reducing surface roughness. Smoothing and polishing will remove some materials that affect the dimensional tolerances of the parts.
Bead blasting is the process of adding a uniform matte or satin finish to a machined part, which removes the tool marks left behind. It works by bombarding your part with small glass beads using a compressed air gun. This will remove any excess material and smooth out the surface of the part. Critical surfaces or features (such as holes) can be masked to prevent dimensional changes.
Anodising adds a thin ceramic layer to metal surfaces. This layer protects against corrosion and wear. The anodic layer is electrically non-conductive, high hardness (Type III) and colourable. Anodising is only compatible with aluminium and titanium.
Type II & Type III anodising involves immersing the component in a dilute sulphuric acid solution and applying an electrical voltage between the component and the cathode. An electrochemical reaction consumes the exposed material and transforms it into hard aluminium or titanium dioxide. Surfaces with critical dimensions (such as threaded holes) or that must remain electrically conductive can be masked to prevent anodising. It is also possible to colour the anodised parts prior to sealing (e.g. red, blue, black or gold).
Vary the electrical current, anodizing time, and the consistency and temperature of the solution to produce coatings of different thicknesses and densities.
Powder coating adds a thin layer of protective polymer to the surface of the part. It combines with shot blast to produce parts with smooth and uniform surfaces and excellent corrosion resistance.
The powder coating process is similar to spray painting, but the “paint” is a dry powder rather than a liquid. Next, use an electrostatic ‘spraying’ gun to apply a dry powder coating, then bake it at a high temperature, usually in a 200°C oven.
Apply multiple layers to form a thicker coating, typically ranging from 18 μm to 72 μm in thickness. A wide range of colours are available.
Each surface treatment has its pros and cons, and choosing the right one depends on what properties suit your part requirements and use.
It’s important to evaluate your functional and aesthetic requirements, and how your part will interact with adjacent components. Whether your part will be subject to repeated or intense friction may influence your decision.
Also remember to consider the operating environment of your part. You may think your part doesn’t need robust resistors, but the environment may require more surface finish than you thought during design.