Sketching out the design helps solidify what your rapid prototyping model needs. One of the most common mistakes when prototyping is jumping right into 3D CAD modeling without sketching. A few pieces of paper can significantly speed up the 3D design process with low investment and quick iterations. Getting an idea down on paper helps crystallize your thinking and often highlights some of the biggest challenges. Besides, if you can’t draw it, you probably can’t make it.
Creating a physical mockup enables you and others to check for design flaws before going to the expense of product prototyping. Make one. It doesn’t have to function, so don’t dwell on it. Cardboard, foam stock, and sticky tape are acceptable materials. The goal here is to have something you can hold and view from different angles. This often is called a benchtop model.
If you’re working with a team, this step helps ensure you’re on the same page with the design. A down and dirty mockup will also highlight any glaring errors, like trying to have two components simultaneously occupy the same space. Make sure stakeholders like sales and marketing also see the mockup to provide feedback.
Measure your part’s dimensions and where it will interact with other parts. Look at mating components as well as your benchtop model and mockups. Define any critical dimensions early since they will be defining the CAD packaging requirements.
The finished version will be the basis of your 3D CAD model.
Build a 3D CAD model to manufacture the part from. You can take the dimensions you measured on the rough prototype for this.
Online providers like can design, fix, or reverse engineer your CAD file for a small fee. You can also connect with freelance CAD designers, who typically charge $20-50+ per hour, depending on the requirements. The more engineering and discovery your part requires, the more expensive the design will be to make. Give your CAD designer the sketch with dimensions, along with any notes on materials. Mention that you plan on getting parts 3D printed but make sure they know what manufacturing process the parts will ultimately be in because each process has its own design rules. By designing with the end manufacturing process in mind, you should be able to move from prototype to production quicker by mitigating serious redesign efforts.
Make sure files are saved in the appropriate formats. A few of the most common file types include: .step, .stp, .x_t, .x_b, .ipt, .catpart, .3dxml, .prt, .sat, .stl, and .sldprt. Note that solid models, such as STEP files, can be interpreted by all manufacturing processes whereas mesh files like STL models can only be used for 3D printing.
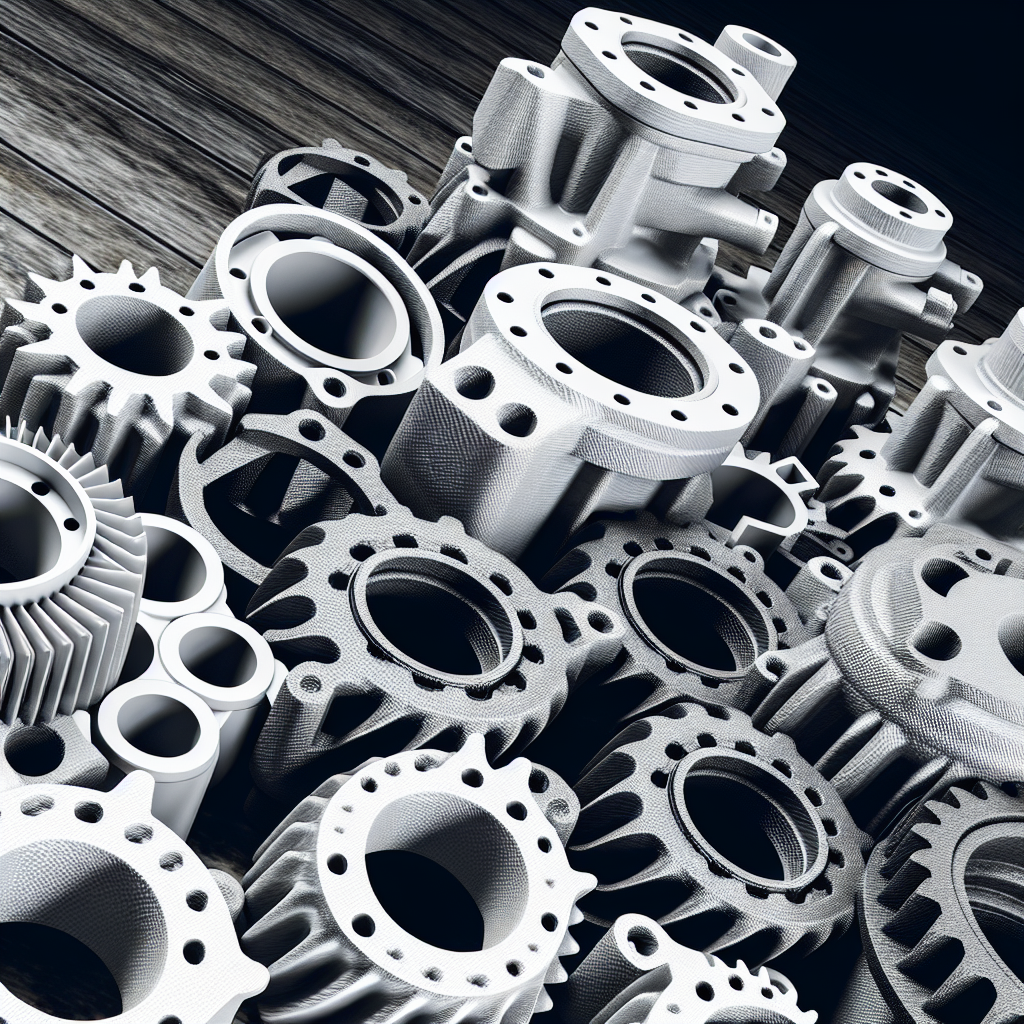
3D print your design to create a testable model. 3D printers produce parts by fusing materials, often layer-by-layer, to form a shape based on 3D CAD models. Not only can 3D printers build product prototypes suitable for testing, but also these parts can often be manufactured quickly.
Test and refine your design to find design flaws to be fixed. This is a key step to rapid prototype development. Test the model and note what aspects work and what needs changing. Note that it’s important not to rush, because you don’t want to keep going around the print-test-modify loop.
The degree to which you can test depends on how functional you need the prototype. At the very least, typically it’s possible to verify how components look and feel, as well as how they’ll work together. Mark up the drawings and either make the 3D CAD updates yourself, or have your designer help update the model for you.