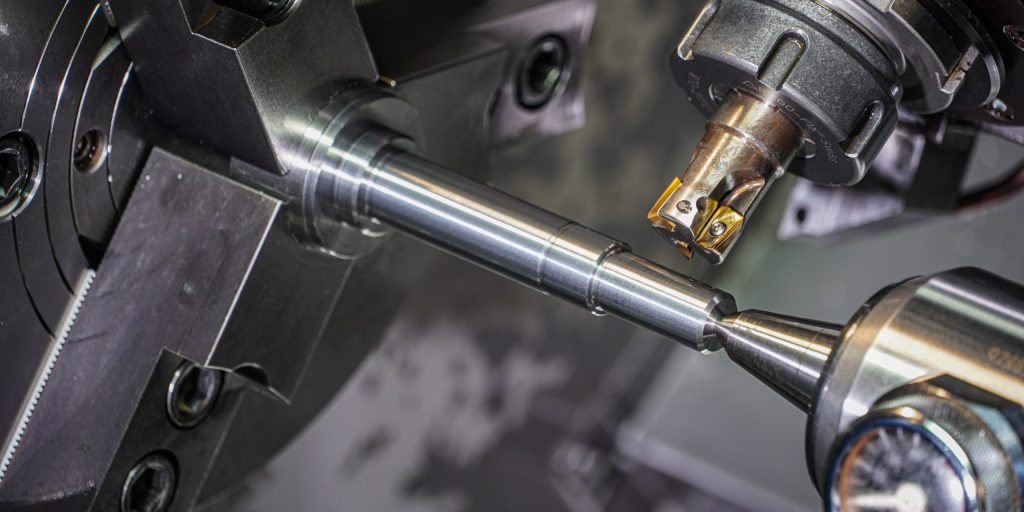
The workpiece is rotated and the cutterhead performs linear or curved motion for cutting. Lathes are used for turning internal and external cylindrical surfaces, end surfaces, conical surfaces, forming surfaces, threads and other parts of the workpiece.

The tool moves in a direction parallel to the rotation axis of the workpiece when turning the inner and outer cylindrical surfaces. When turning an end face or cutting a workpiece, the tool moves horizontally on an axis of rotation perpendicular to the workpiece. When the movement path of the tool forms an oblique angle with the rotation axis of the workpiece, a cone surface can be machined. The surface of the rotary body formed by turning can be formed by the forming tool method or the tool tip path method. During cutting, the workpiece is driven by the machine tool spindle to rotate and perform the main movement; the turning tool clamped on the tool holder performs the feed movement. The cutting speed v refers to the linear speed at the contact point between the rotating workpiece processing surface and the tool (m/min); the cutting depth refers to the vertical distance (mm) between each cutting surface and the processing surface, but when cutting and form turning is the contact length perpendicular to the workpiece (mm). Feed refers to the displacement of the tool along the feed direction (mm/revolution) when the workpiece is rotated each time, and can also be expressed in terms of the blade feed per minute (mm). When using high-speed steel turning tools to turn ordinary steel, the cutting speed is usually 25~60 m/s, and carbide turning tools can reach 80~200 m/s; when using coated carbide turning tools, the maximum speed It can reach more than 300 meters per minute.
Turning is usually divided into rough turning and fine turning (including semi-finishing turning). In order to improve the turning efficiency without reducing the cutting speed, the coarse-graining machine uses a large cutting depth and feed amount, but its processing accuracy can only reach IT11, and the surface roughness is between Rα20~10 microns, semi-finishing turning Both high-speed feed and cutting depth are used as much as possible for finishing turning, and the processing accuracy can reach IT11~10 microns. Using precision-ground high-precision diamond turning tools for high-speed precision turning of non-ferrous parts can achieve a processing accuracy of IT7~5. The surface roughness of Rα0.04~0.01 micron is called “mirror turning”.
If you grind 0.1~0.2 micron concave and convex shapes on the cutting edge of a diamond turning tool, the turned surface will form a kind of neatly arranged stripes with extremely slight concavities and convexities. Under the action of light diffraction, it will show a brocade-like luster, which can be used as a Decorative surface, such turning is called “rainbow turning”.
During the turning process, when the workpiece rotates, the tool also rotates with the workpiece at a corresponding speed ratio (the tool speed is usually several times the workpiece speed), which can change the relative motion trajectory of the tool and the workpiece and process the cross section. Workpieces that are polygonal (triangular, square, prism, hexagonal, etc.). When the tool is fed longitudinally, a periodic radial reciprocating motion is added to the tool holder. With each rotation relative to the workpiece, a cam or other non-circular cross-section curved surface can be machined. On the shovel-tooth type lathe of the present invention, the flank surface of the cutter teeth can process certain multi-tooth cutters (such as forming milling cutters, gear hobs) according to similar working principles, and is called “shovel back”.
PROTO MFG provides a wide range of manufacturing capabilities and other value-added services for all of your prototyping and production needs. Visit our website to learn more or to request a free, no-obligation quote.